Friday, April 12, 2013
Final Blog
I really enjoyed this course and everything that I learned or have known already. It was a nice refresher for me being a technical photographer a lot of the time I myself forget a lot of techniques. Im constantly using so many different kinds of equipment and am constantly evolving my style because I am such a young photographer. I really enjoy all aspects of this and through learning what I have in this course Im sure I will continue to shoot nature photography more and will strengthen my skills. I think nature photography is one of those mediums thats overlooked. I didn't find shooting nature interesting before but then again I myself also never took the time to really try and learn the medium. I know through this course that there is another kind of photography that Im good at and will continue to look at the world around me in a different way. I really appreciated all the information that I was subjected to this semester and overall Im confident in this new subject and will continue to work towards this from now on.
Post Photography
The Post Capture Chapter was something I know a lot about because I do a lot of post shooting editing. I was taught from the beginning to shoot for perfection best as possible in camera so you wouldn't have to manipulate the image at hand. I believe this is true because with photography you want to shoot a image as close to perfect as possible almost eliminating the need to edit because if you shoot correct in camera you won't have to waste hours fixing your mistakes.

I personally always shoot raw because you can control and manipulate everything in the huge uncompressed file where if you were shooting as a jpeg the editing of such images is very limited. After importing I generally convert to Jpeg unless Im planning to print in which case I convert to .TIFF which is best for printing.

Manipulation of exposures and Messing with hues and saturations can make any image interesting in post editing. Experiment with what you like and go from there.

Macro Photography and Creative Photography
Macro Photography is one of the kinds of photography I truly like because macro shows the detail at a large scale. Photographing something like a bugs eye gives a new meaning to how we view things because you can see the detail in the image as well as the texture in some cases. To achieve this photographers use special lenses known as macro photography lenses which magnify the subject with a 1:4 ratio but it rarely exceeds a 1:1 ration which makes a life sized image.

Lenses aren't the only thing used for making a macro picture. If you have a extension tube it gives distance from the lens and sensor magnifying the subject being shot. Another way to achieve this would be to use a billowing system that connects to the front of the lens letting you shoot from the back glass of the lens. Another way to achieve a wide angle would be to attach a lens in reverse to another lens which would give a hint of a wide angle.
Another thing to take into consideration when doing macro photography is a limited depth of field. When shooting a small object the depth of field becomes extremely small and a higher f number is required to produce a sharp image.

The creative photography section of the book was something that I enjoyed. I always like shooting photos of the moon and other such things like HDR images. HDR meaning High Dynamic Range Imaging. With HDR you are combining a range of exposures with post capture software to collect all the detail in the shadows and the light.. It would be like taking the correct exposure for 10 images and then sandwiching them together to make one final image.

Another way that photographers have become creative with photography is by adding a gyro stabilizer to the bottom of their camera so that with even the slightest human movement the gyro would counter weight that movement keeping the image still and sharp. A lot of this technology has now been introduced into the design of lenses and it is called VR or vibration reduction.

Another one of my favorite kinds of photography is panoramic. The idea of taking 5-10 images one right next to each other to give a wide photograph is Ideal. When shooting Landscapes panoramics became a huge success because of the wide spread view.

Fill Flash and Wild Life Photography
Fill-flash is using your flash to fill-in darker parts of a picture already lit by other light. It is used for almost all my people photos outdoors.
Adding fill flash is easy: just turn on your camera's flash, and almost all cameras today automatically give the results where if the subject is backlit by the sun that that flash will light the front of the subject so there is no shadow there. You don't need to mess with any settings. You just press the shutter release button and your camera does the rest. On most DSLR cameras the flash pops up the flash by itself and the camera does the rest. Indoors, fill-flash lets you see people's faces better, and lets you light up an interior of a room and see out the window better than HDR. Outdoors, fill flash lights-up faces so they aren't drowned in shadows.

This image is an example if fill flash photography.. The image on the left has not been shot with a fill flash while the image on the right has. You can see the significant difference in how there is hardly any shade on the gentleman's face on the right.
|

Weather and Lighting
Outside metering chapter and Lighting and weather chapters.
Outside Metering in my experience uses a lot of outside metering because I shoot in manuel exposure mode nearly exclusively, no matter which route i take to get to a specific shutter or aperture or iso combination…I get the exact same exposure no matter what metering mode was used.
When I meter Im constantly checking the cameras meter, checking each photos histogram to make sure my graph is right where it should be and if its not I adjust accordingly to what it should be. Unless Im shooting in changing conditions I check the LCD for the image once in a while because sometimes the LCD isn't an accurate exposure. I know when I meter my camera is set to Matrix which allows me to appropriately expose the whole area as compared to spot metering where Im exposing an single area properly and you want a specific tonality. When metering you want to make sure that the subject is lit well but you also have to make sure with a single camera exposure we cant always expose for shadow and light areas which bring HDR into the picture because its exposing correctly all the areas tones in multiple pictures then layering them so that the final picture as a whole is expose in shadow and in lit areas. I want to highlight this important point again – you can’t simply point your camera at a scene and zero your needle to one of the multiple exposures. You first need to decide what you want to expose correctly for, even if it is just a general area.

This Image above was not exposed correctly because the photography only exposed for the view in the distance and not the rock they were framing through causing the black ring.

This Image was shot at the correct exposure because there is a good ratio of tonality between lights and darks in the image were the sky is exposed but you can also still see detail in the shadowed portion of the image.
Weather and Lighting
In this reading I did know alot of what the chapter was talking about but I wanted to elaborate on some things that I want to the surface when it comes to shooting weather photography.

1.) A TRIPOD IS YOUR BEST FRIEND… Reason Im saying this is because weather is always changing and some shots require precision accuracy when it comes to getting the shot you want. For example…LIGHTNING! It is very hard to shoot lighting because it is such a quick second shot…You need a tripod for this kind of shot because there is no way to possibly hand hold this because even if you think you are being still due to your heart beat your body actually shakes enough to cause a problem for the shot.
2.) BE PATIENT… A lot of the time it will take a while for your camera to get the correct shot you want because again the conditions are always changing and you will never get the same shot twice. It is always also helpful to use a camera release remote because even touching the shutter button with a finger can mess up causing a vibration in the camera.
3.) Plan on getting dirty or wet. In my experience not being an outside person I tend to fall a lot outside because Im not paying attention to what Im doing and where Im stepping because Im focused on what photography I want to take.
4.) Have fun. Nature Photography can be influenced by nature where you can take the same image 100 different times with different conditions and always have a different effect on the image. Wind, Snow, Dry Days with no Wind, Rainy days… It all can affect how your image looks.
Lighting
With lighting there is a lot of types you can play with. Full, midday sunlight versus early-morning or late-afternoon, Open shade, Overcast skies,Sunrise or sunset, The deep blues of twilight, Moonlight, Starlight, Window light, Reflected sunlight, both soft and hard, Daylight illumination from a frosted skylight or Other natural sources not from the sun include firelight and lightning.

All of these kinda of lighting refer as natural lighting where at different times of the day you can achieve different colors of light. For example in the morning you could have a nice blue / orange tone depending on the day. mid day you could have something neutral and yellow and at night about and hour before the sun goes down is called magic hour… Its the point of the day where the sun is least harsh and is the most favored lighting of the day because it is very easy to work with and many movie makers only shoot during magic hour.
The other kinds of light are as followed because they aren't natural sources of light but sometimes are the best source of light when shooting photography for different results.

ARTIFICIAL LIGHT Artificial light is any light that is not natural and depends on an external source of power. This could be your on-camera flash, external flash units or studio strobes, tungsten photo floods, an overhead light fixture, fluorescent lights in an office environment, streetlights, stadium lights, stage lighting for a concert, the twinkling glow from Christmas-tree lights, neon, and so forth. Like natural light, artificial light can fall under the larger category of existing or available light
TUNGSTEN LIGHTS These are also referred to as incandescent lights. They are most often found in homes, and they are among the cheapest bulbs to purchase. Light from tungsten bulbs can vary quite a bit in terms of brightness but this light is generally softer and warmer than fluorescent light.
HALOGEN LIGHT This type of incandescent light is more energy-efficient and produces a brighter, whiter light. It is used in projectors, household lamps, some streetlights, car headlights, and continuous studio lighting.
NEON LIGHT Neon light will have an orange-red color and is filled with neon gas, through which a small current is passed, causing it to glow. What we know as neon signs, which may be a number of different colors, rely on other types of gases for their color. Though neon lights don’t really provide enough illumination to be a light source for a broader scene, they themselves can make for interesting subjects or background material
STREETLIGHT Like neon lights, sodium-vapor lights use pressurized gas to produce light. You can identify sodium-vapor lights by their yellow illumination. If you take a long night exposure using street lamps as your light source, you’ll notice this same, somewhat eerie yellow-orange glow pervade your image.
OFF-CAMERA FLASH An off-camera flash is more useful and offers many possibilities for positioning the flash, as well as for using accessories such as a mini flash-softbox or bounce cards to modify the quality of the light. In order to use an off-camera flash, your camera needs to have either a hot shoe or flash sync connection.
Sunday, February 17, 2013
Weeks 3 and 4 Readings
I found all the reading this past 2 weeks to be interesting especially when it came to the nature photography magazine article, which further then explained how you are supposed to write a effective critique and the posters responsibility of posting work and being able to accept criticism whether it be good or bad. This was interesting to me because a lot of the time in my experience in the college setting people tend to be to nice rather then be critical because they don't want to hurt someones feelings.
The Critique form was a good reading as well because I feel that I as a photographer and a learner will not be able to criticize my self so id rather someone else criticize my work and give me good feedback on what I as a photographer can do to strengthen my skills. Sometimes when reading about the image and what the photographer / artist has to say can really decide how much thought went into shooting a image... with me it is hard to write about my photography because my creative process is more commercial rather than fine art and for my to express emotion towards an image when I really dont feel anything because 90% of my photography is technical, with numbers and angels, instead of emotional. I guess in a way I dont shoot something to convey a message... I shoot it because it looks nice or I want to show someone else how nice it looks.
The reading in the chapter again I thought was similar to last weeks working with framing an image. This weeks reading has alot to do with the rule of thirds and how the overall composition of the photograph is. It also goes into detail about what kind of lens to use and what angles to shoots from to overall strengthen the shot. Shooting from above or below can significantly change the point of view with the photograph.
Artist Critique
Ansel Adams was one of the most influential nature
photographers. Even 70 years later people are still trying to fill his shoes
and create the photographs that he created. Ansel Adams did majorily only
landscape and all his images were black and white with a like of high contrast.
All the images fill the frame correct and have a good sense of blacks and
silvers.

Galen Rowell was a photojournalist who connected with
his audience through his writings and his photographs. Hey influenced a lot of
people through his wilderness adventures, which eventually is where a lot of
his influence for his own work came from. He is one of the first photographers
to use the 35 mm camera in landscape photography. All of Galens work is in
color and has a beautiful contrast of very saturated colors almost making it
look like the image was painted and not shot.

Eliot Porter In contrast with Ansel Adams’ big landscape style, Porter’s
photos were more quiet and focused on the intimate landscape scenes that are
easily overlooked. It is easy to overlook his body of work in favor of postcard
views but one needs to only look at the photographers that he influenced to see
that his work has left a lasting impact.
Eliots shots are closer to the subject and are more detailed unlike Ansels
who’s were wide scale.

William
Henry Jackson
One of the early pioneers of landscape photography, Jackson’s photos were
instrumental in the creation of the National Parks system beginning with
Yellowstone National Park in 1872. All
of Williams photographs are black and white or sepia and like Ansel are of a
wider scale showing more in the picture instead of detail.

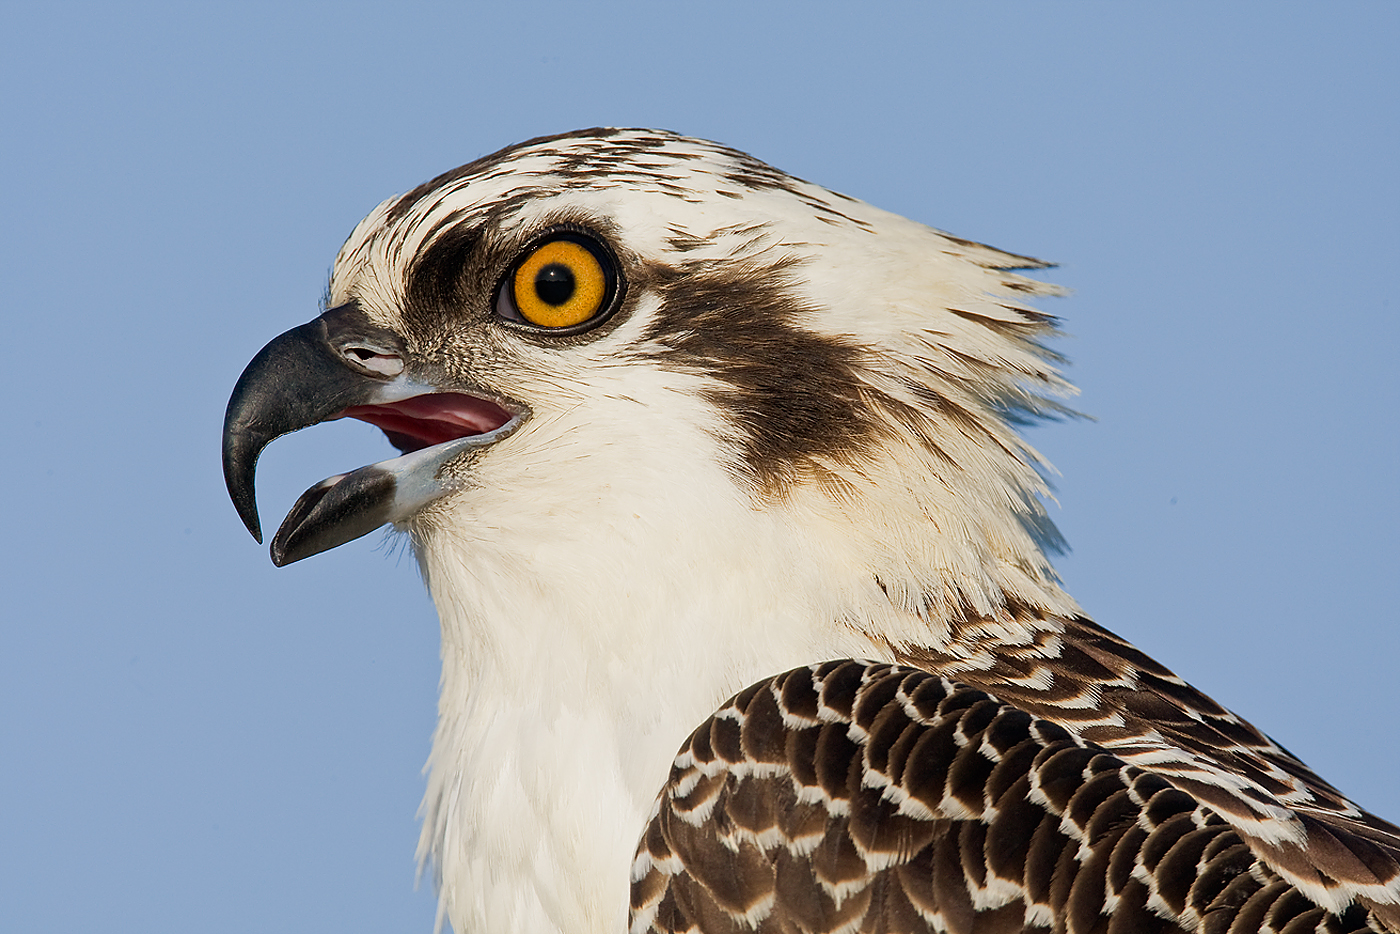
Arthur
Morris Is
one of the most imitated photographers in the nature photography format; it
would be hard to see any bird photography that doesn’t show Morris’ influence.
He is arguably the most prolific bird photographer of all-time and runs a
successful birding workshop business. All of his images are bright in color and
majorities of the time are close up and show detail of the bird or birds in a beautiful landscape which controls most of the image.

Subscribe to:
Posts (Atom)